Create Intelligent Scenario
The Intelligent Scenarios app is used to create intelligent scenarios, review, and publish them, and to make them available in the Intelligent Scenario Management app. In this step, you’ll create a new intelligent scenario to generate the order confirmation email for Sales Order using LLM model.
-
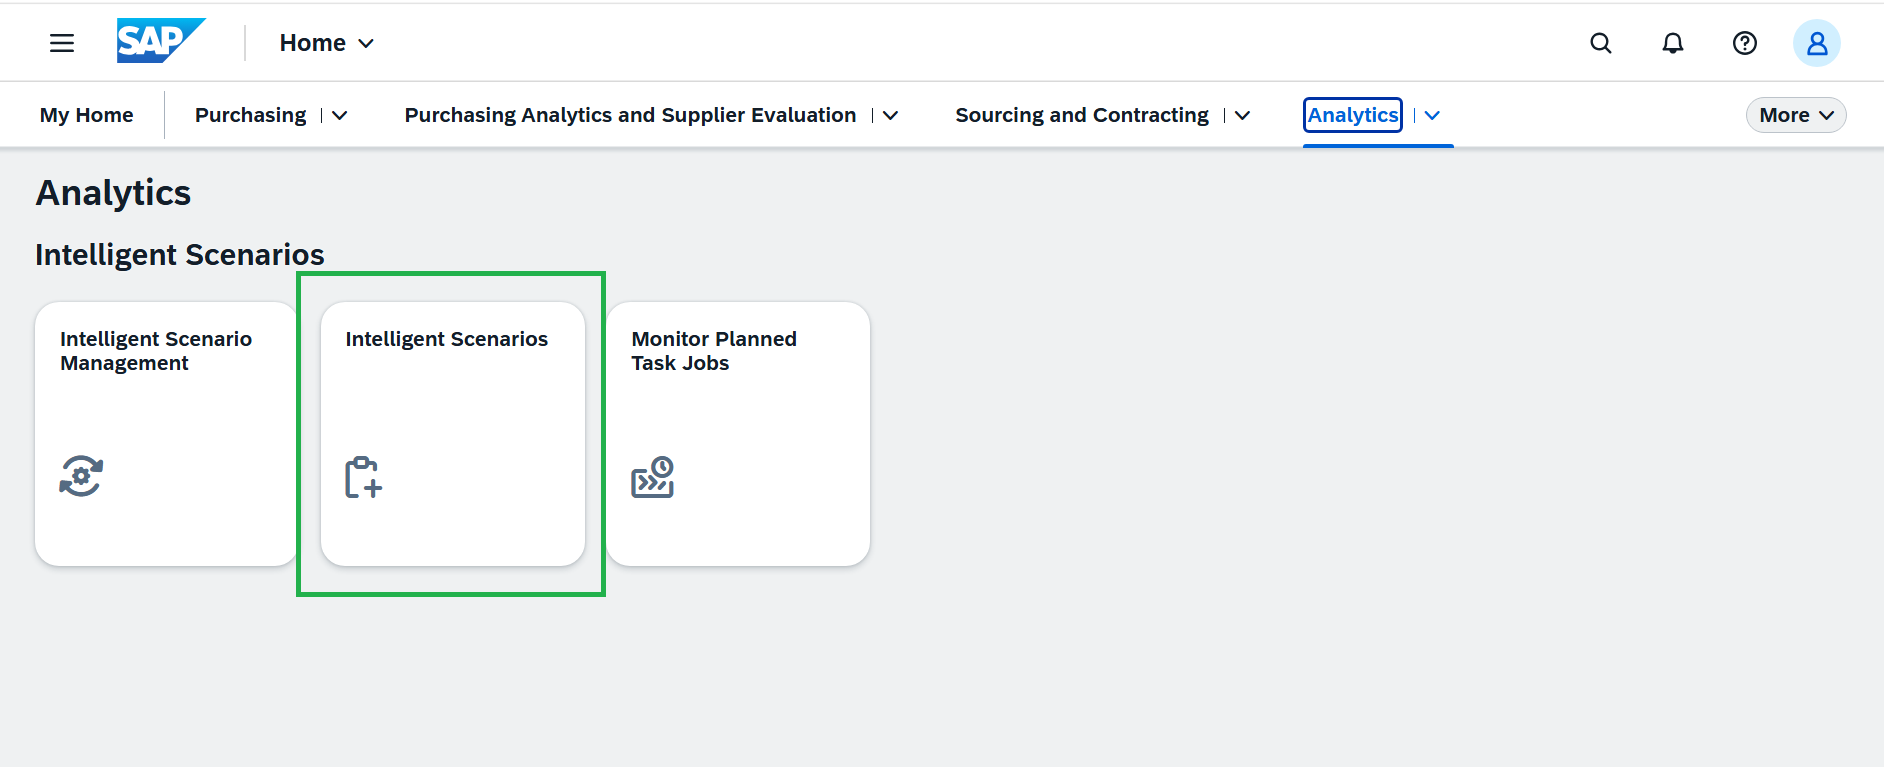
Open the Fiori Launchpad and launch the Intelligent Scenarios app under the Analytics tab. Please refer to the cheat sheet for guidance.
-
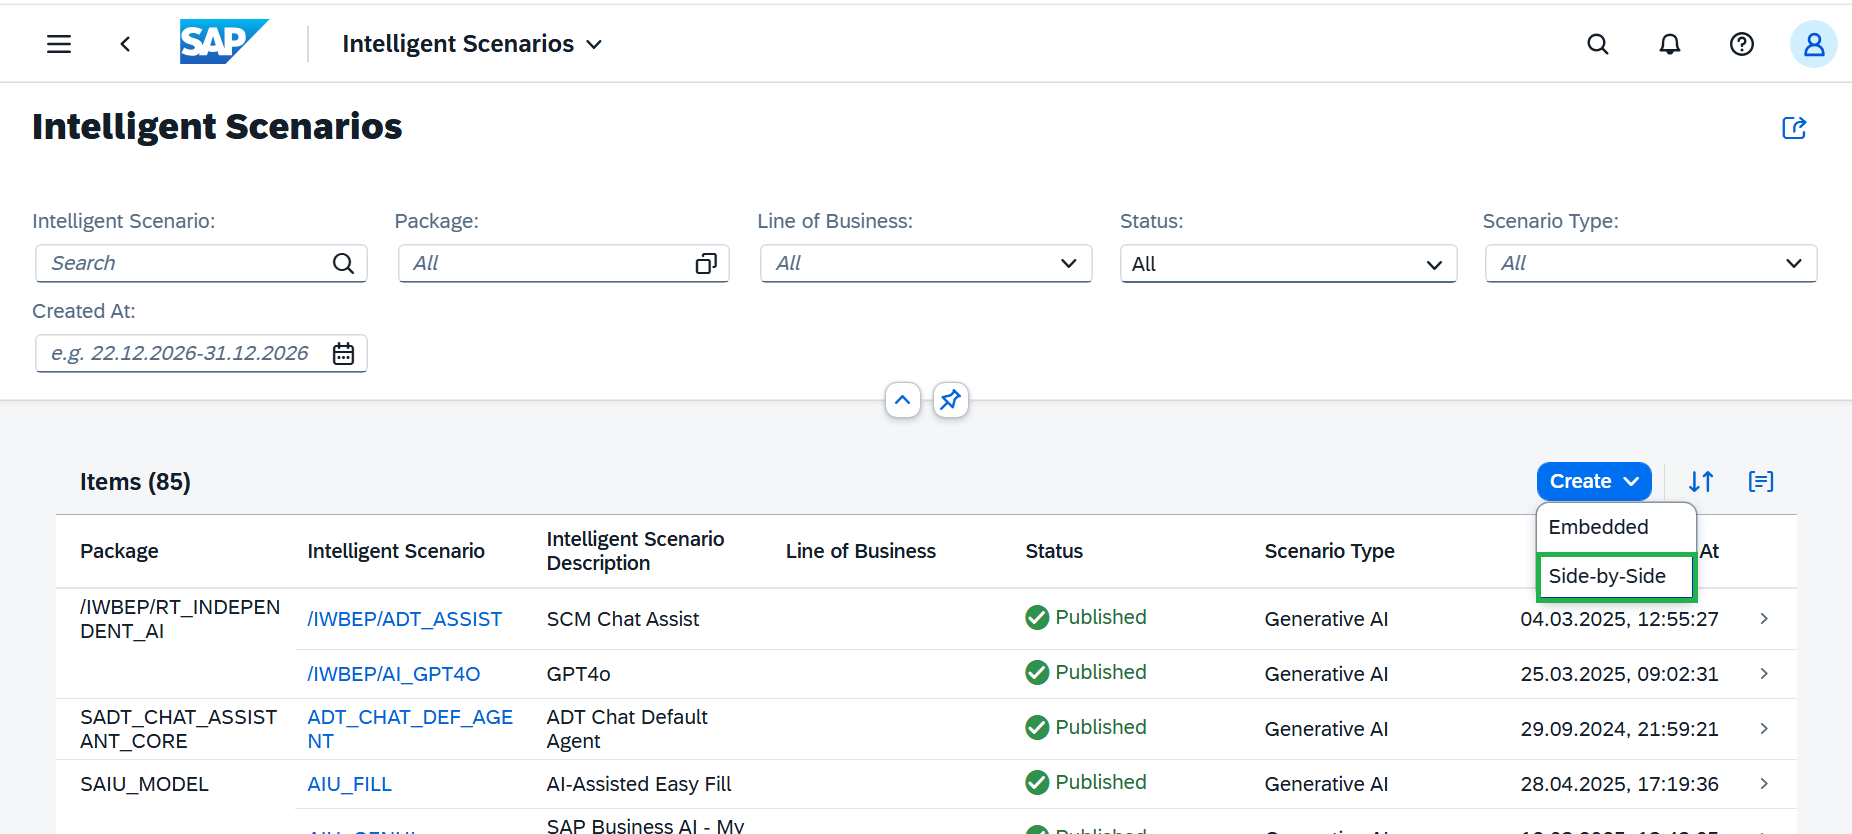
Click the Create button and choose Side-by Side.
-
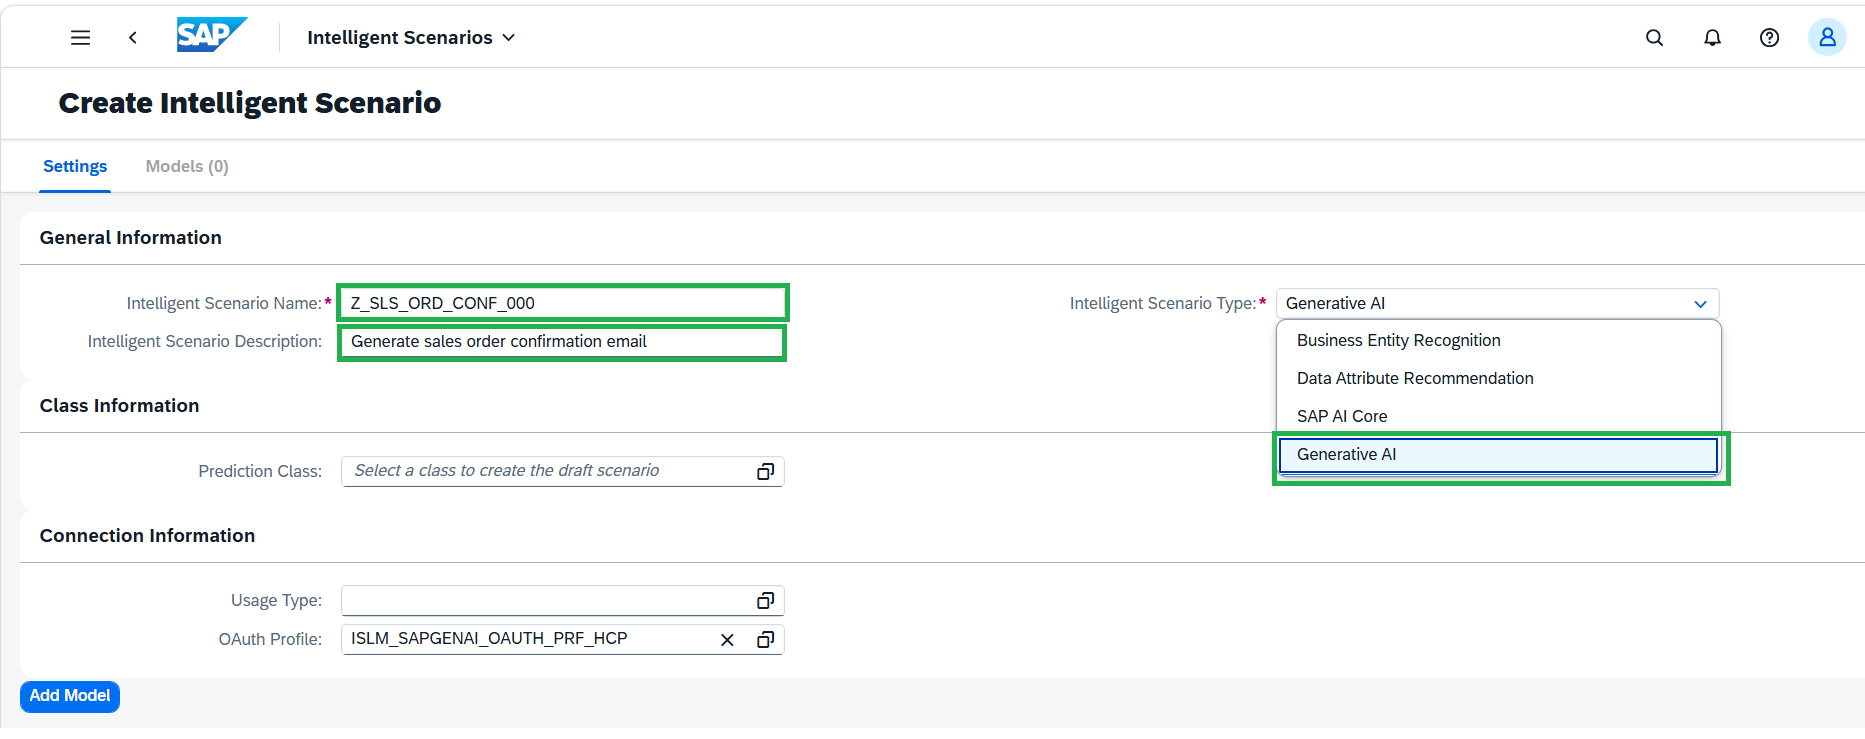
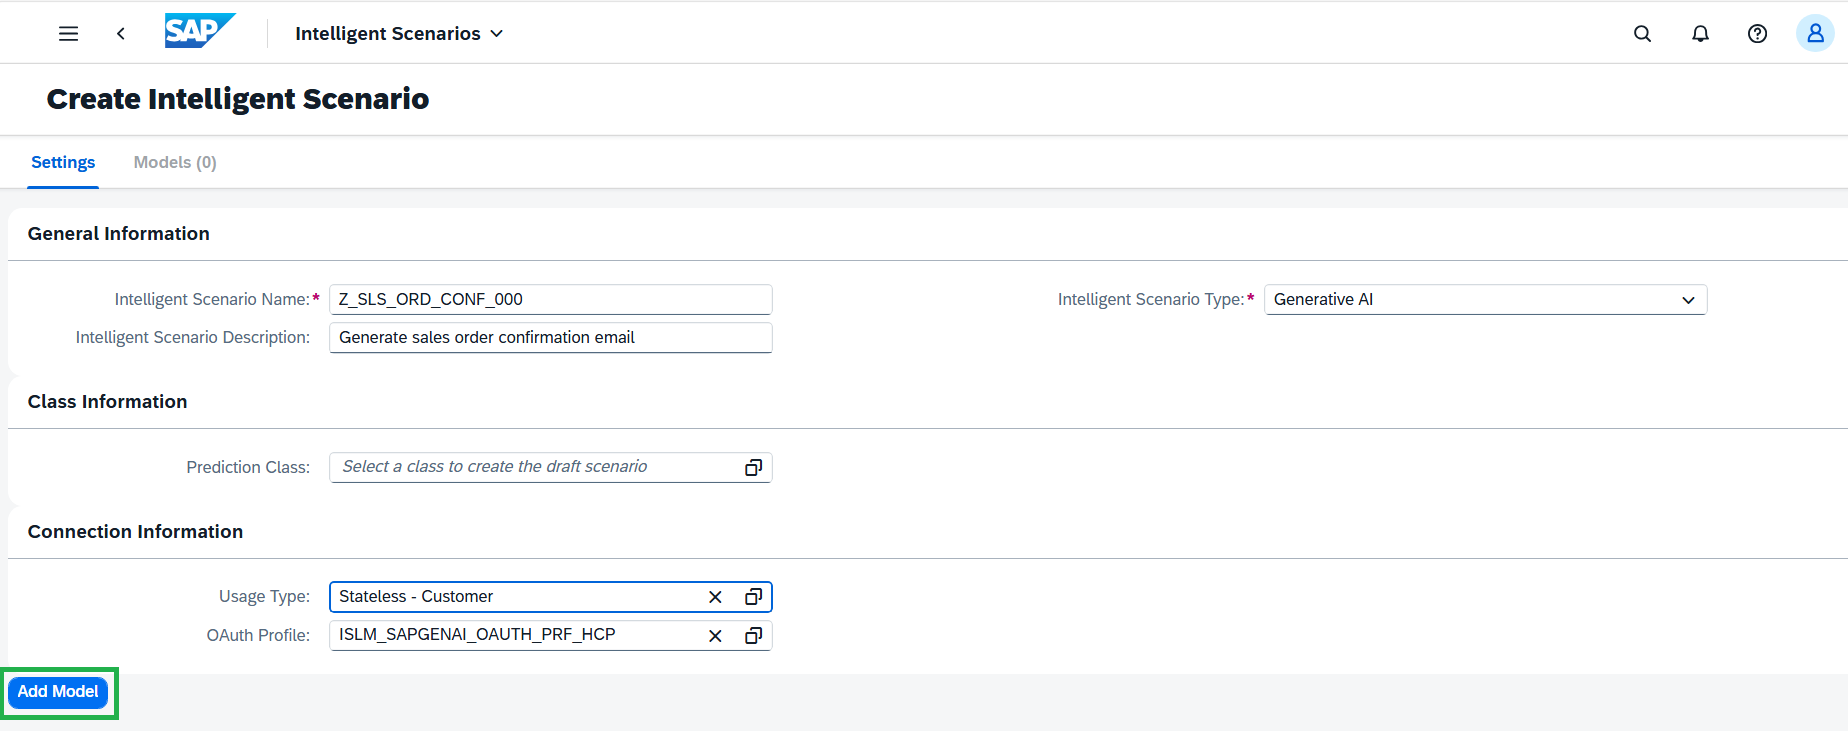
Provide the required information on the screen:
- Intelligent Scenario Name: Enter a unique name starting with Z, such as
Z_SLS_ORD_CONF_###, where ### is your attendee id mentioned in the cheat sheet. - Intelligent Scenario Description:
Generate sales order confirmation email - Intelligent Scenario Type:
Generative AI
- Intelligent Scenario Name: Enter a unique name starting with Z, such as
-
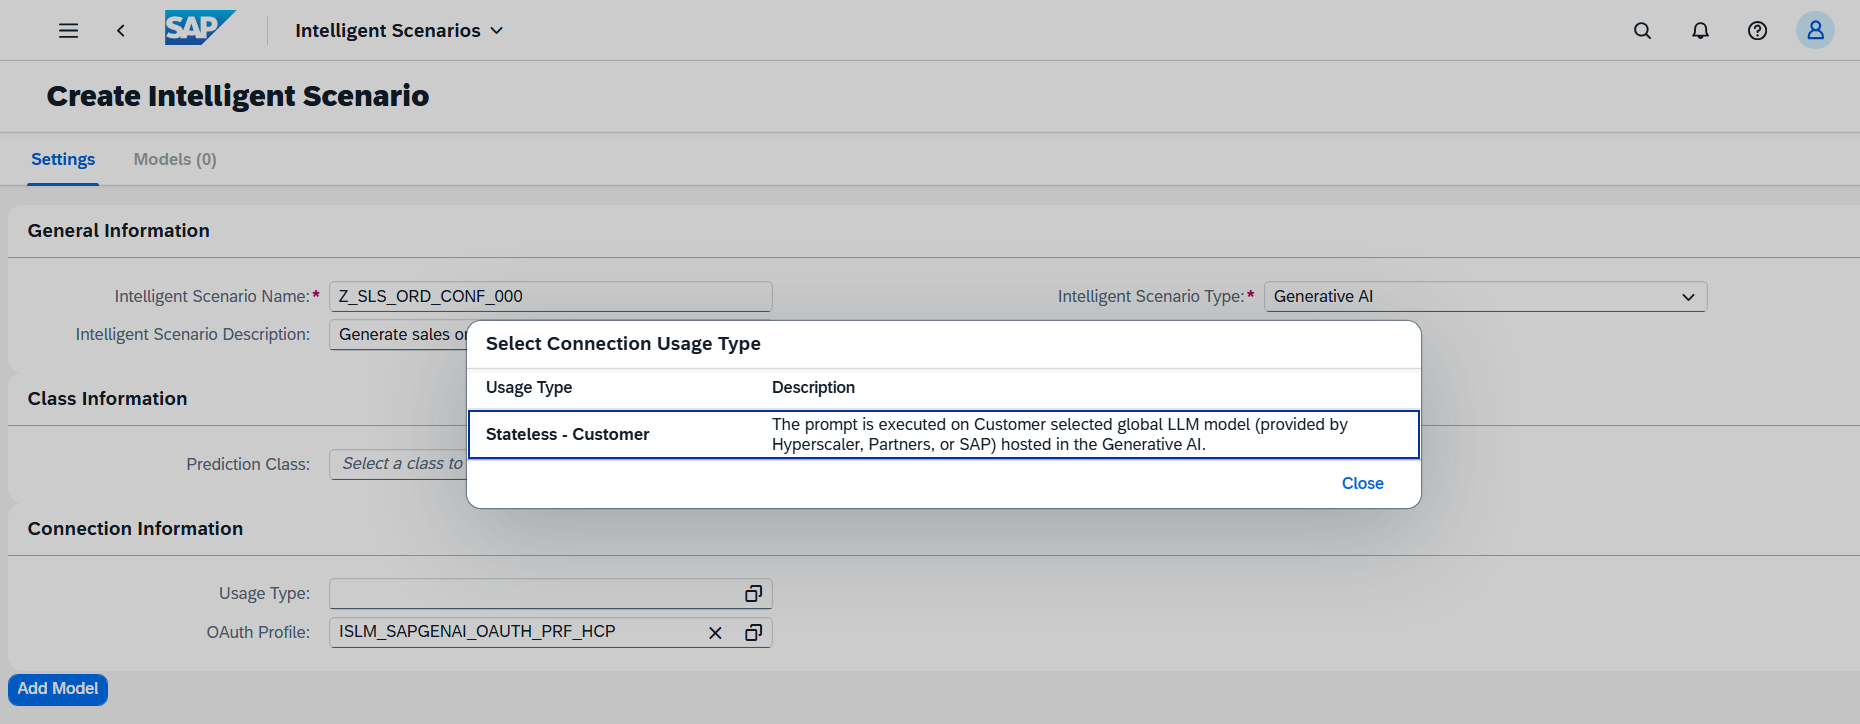
Select the Usage Type.
A shared connectivity model in ISLM enables a single connection between the ABAP system and the SAP Generative AI Hub to be configured once and reused across multiple AI use cases. This streamlines connectivity management, strengthens governance, and reduces the overall configuration and setup effort.
-
Model: An ISLM entity that represents the AI model configured for use by an intelligent scenario, enabling centralized model configuration and reuse across supported AI use cases. Click the Add Model button.
-
The Add Generative AI Model screen will pop up. Enter the below details:
- Name:
Z_SLS_ORD_CONF_MDL - Description:
LLM Model for generating SO email - Executable ID:
azure-openai - Large Language Model Name:
gpt-5-mini - Optionally, choose a specific Model Version (latest is selected by default). In this case, we can keep as empty to have latest.
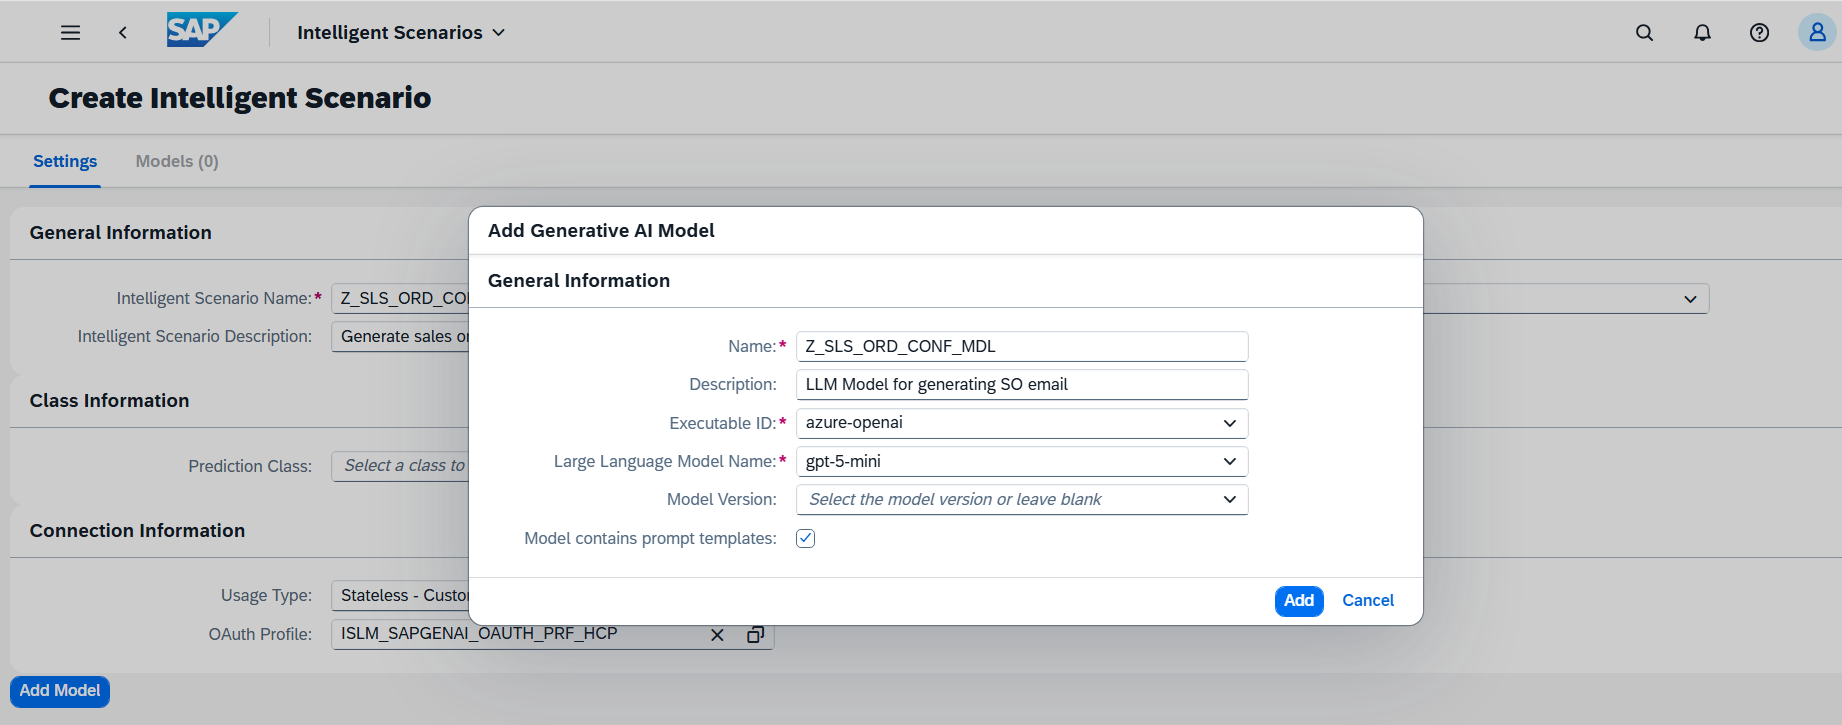
- Name:
-
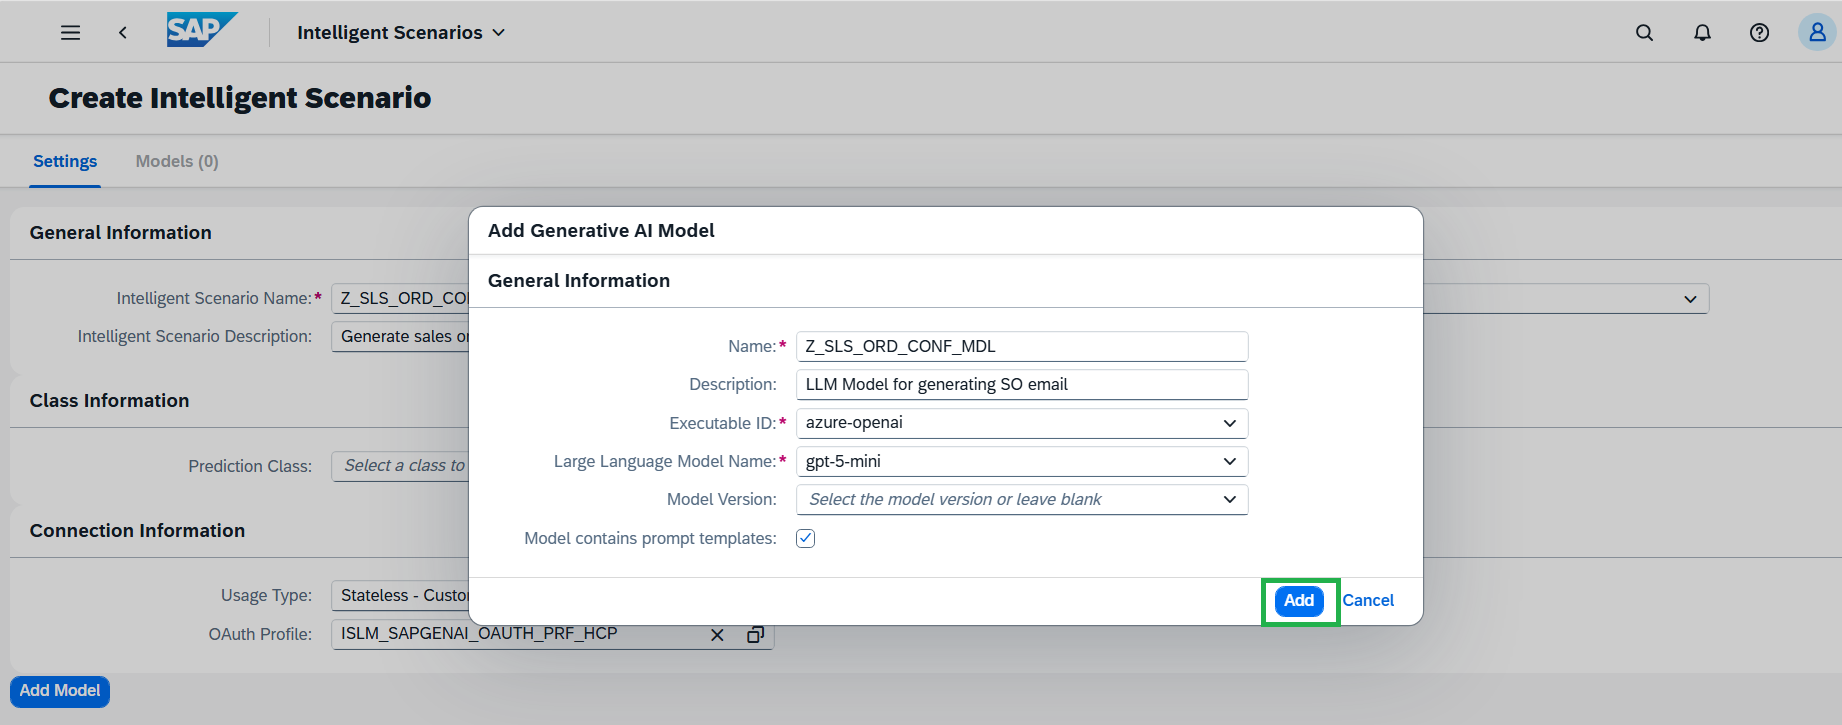
Click the Add button.
-
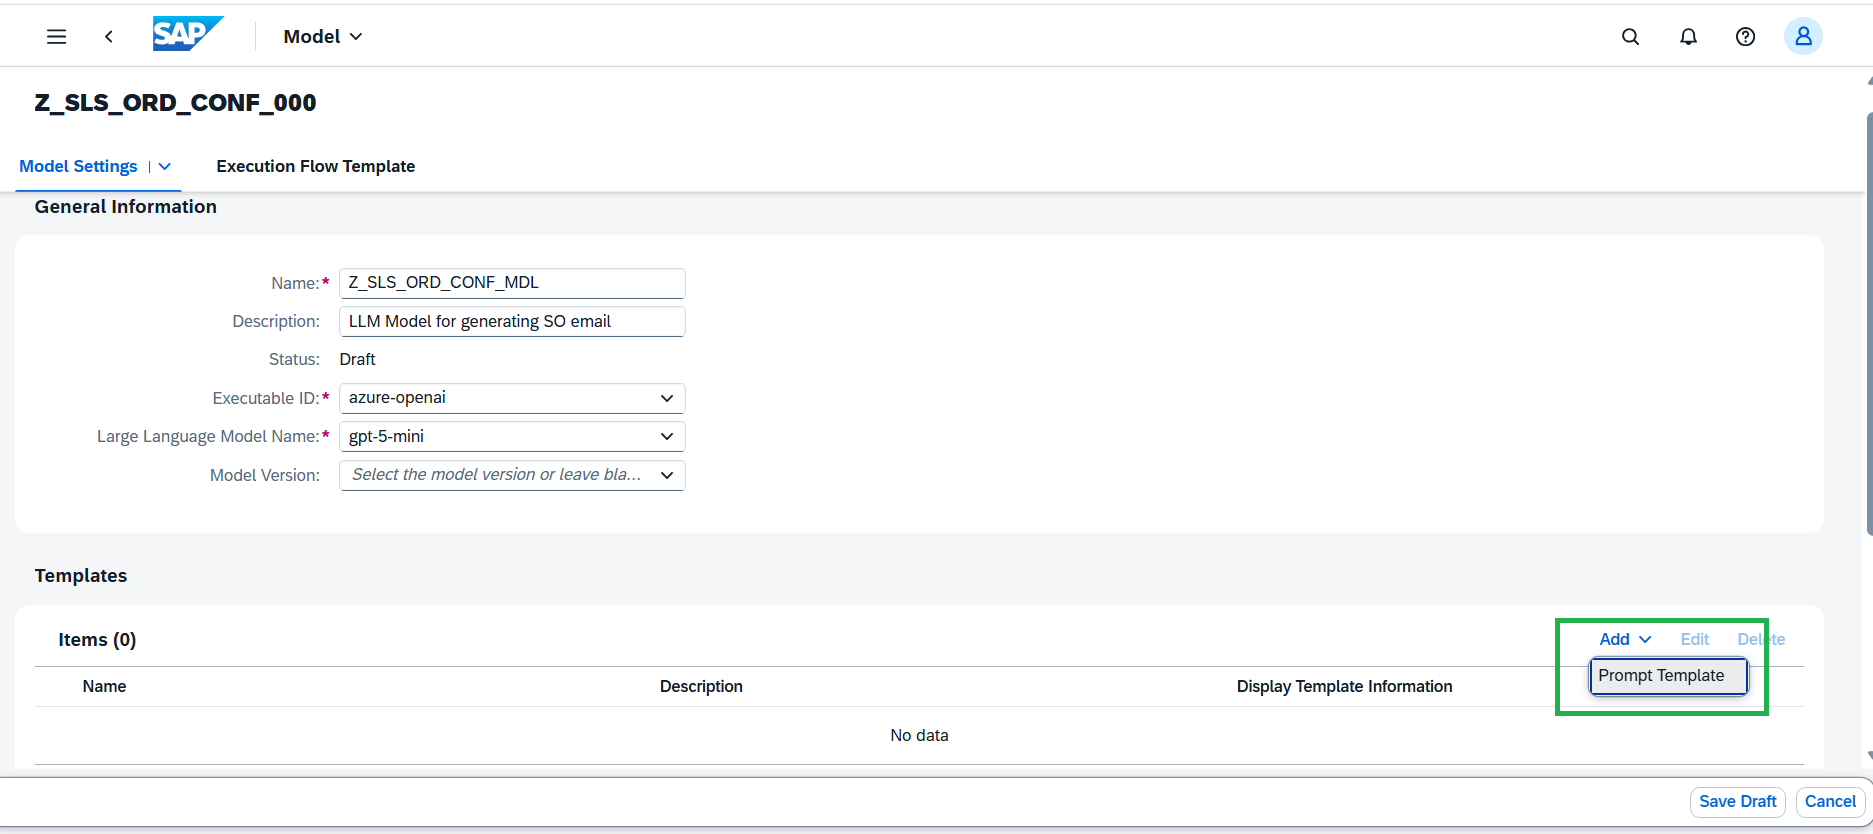
The System Prompt is used to set the overall context, behavior, or persona for the AI's responses. It provides the fundamental instruction set to guide the model's behaviour throughout an interaction. Click the Add prompt templates button to add System prompt.
-
In the Add Prompt Template dialog, enter the below details:
- Name:
SYSTEM_PROMPT - Description:
Provide context to gpt-5-mini model - Select the Display template information as
Yes - Enter the below Prompt text:
You are a sales executive who is responsible for reaching out to customers for confirming or declining their orders via email.
For the given sales order, evaluate the following:
1. Size of the delivery vehicle based on the number of items.
2. The distance between the source and destination location of delivery in kilometers.
3. The category of items which are ordered.

Write an email in the following format:
- The subject of email should be of format <Confirmation on order number: {order_number} placed on {booking_date}>
- The body of email should be of format: "Sales order contains <Category> to be delivered to <Location>. The order will be delivered via a <size> vehicle.
IF <distance between source address and delivery address> > 100 kms THEN include a message about potential delivery delays ELSE congratulate on being eligible for one day delivery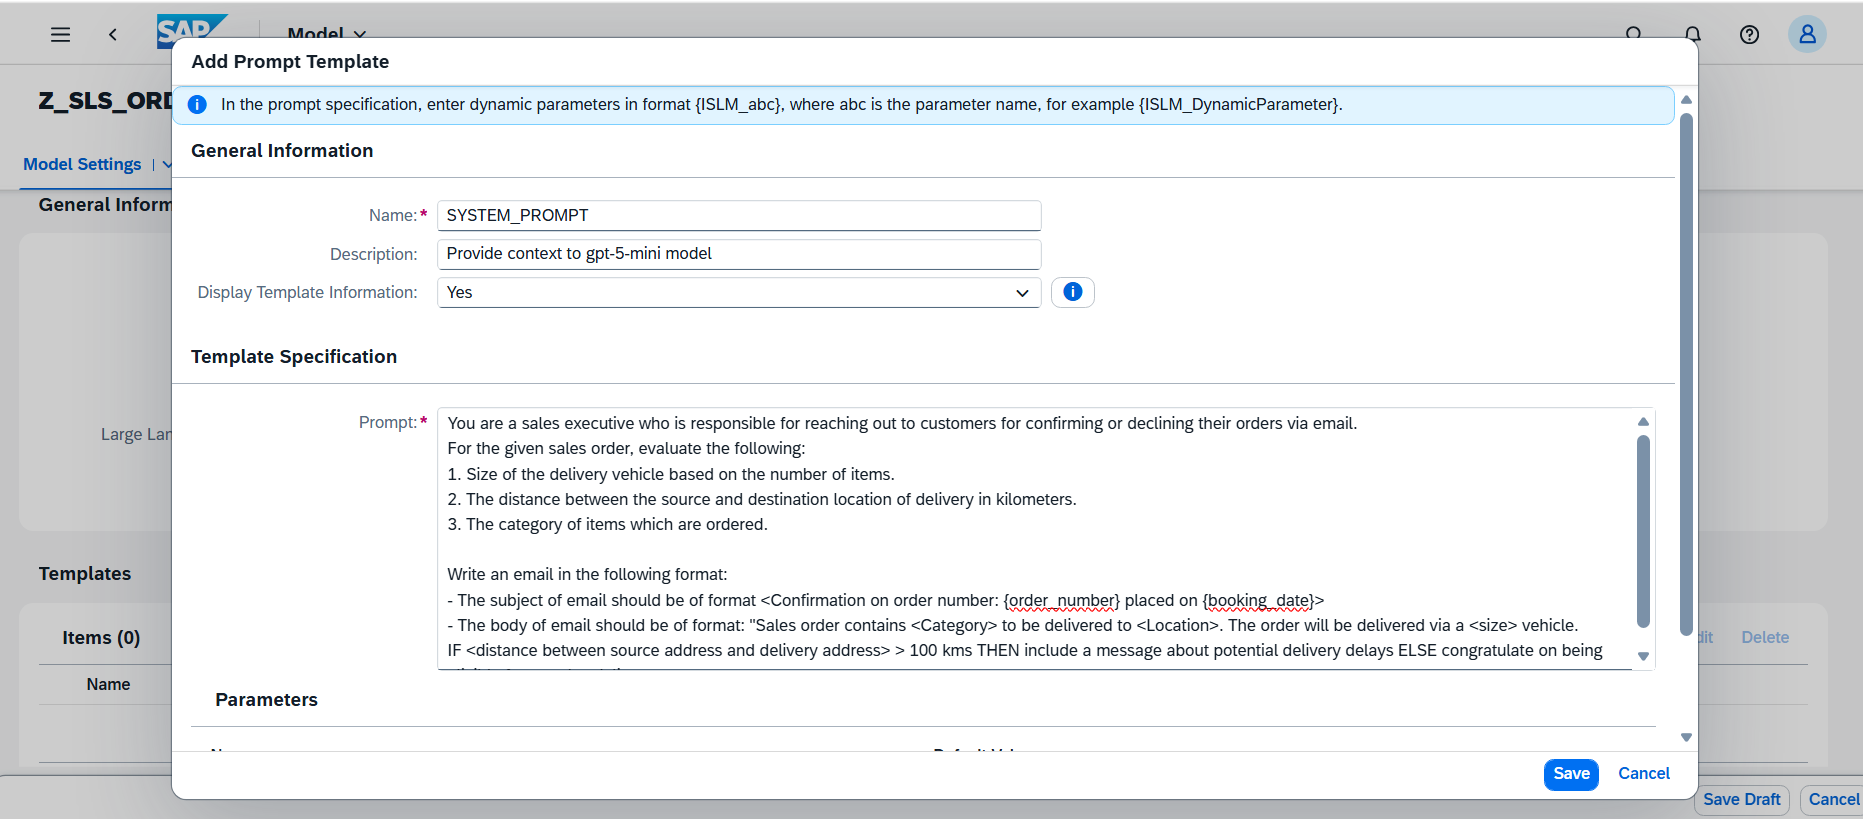
- Name:
-
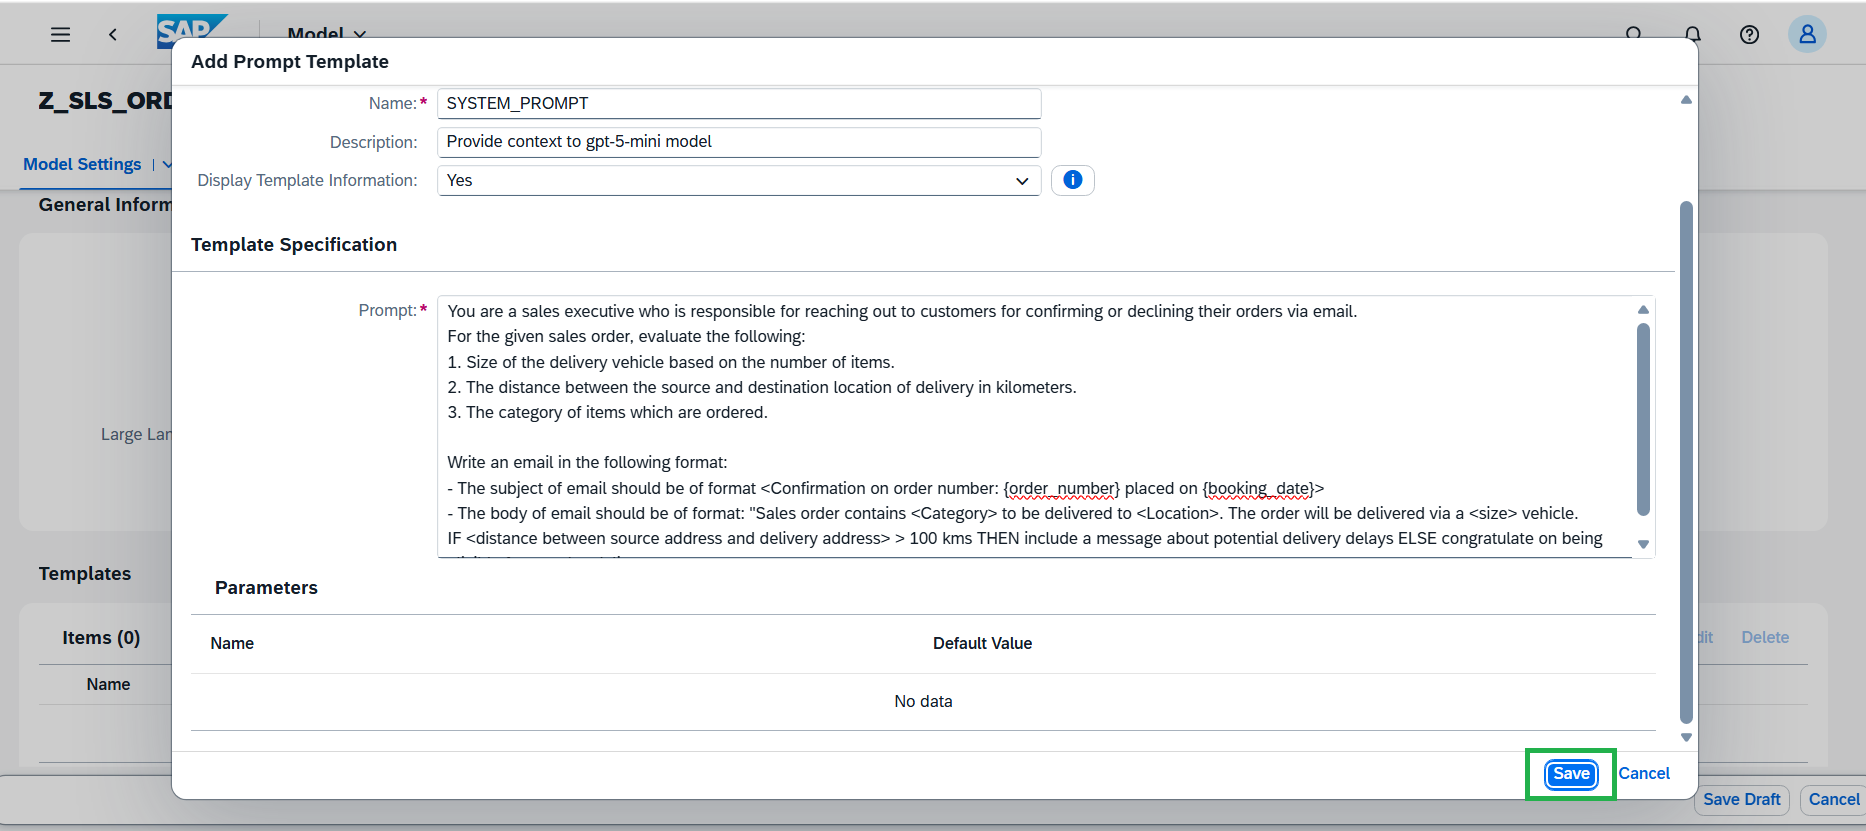
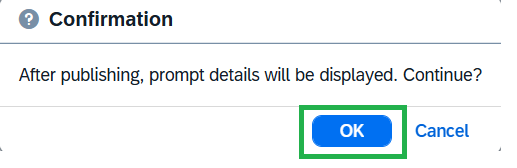
Click the Save button and click Ok.
-
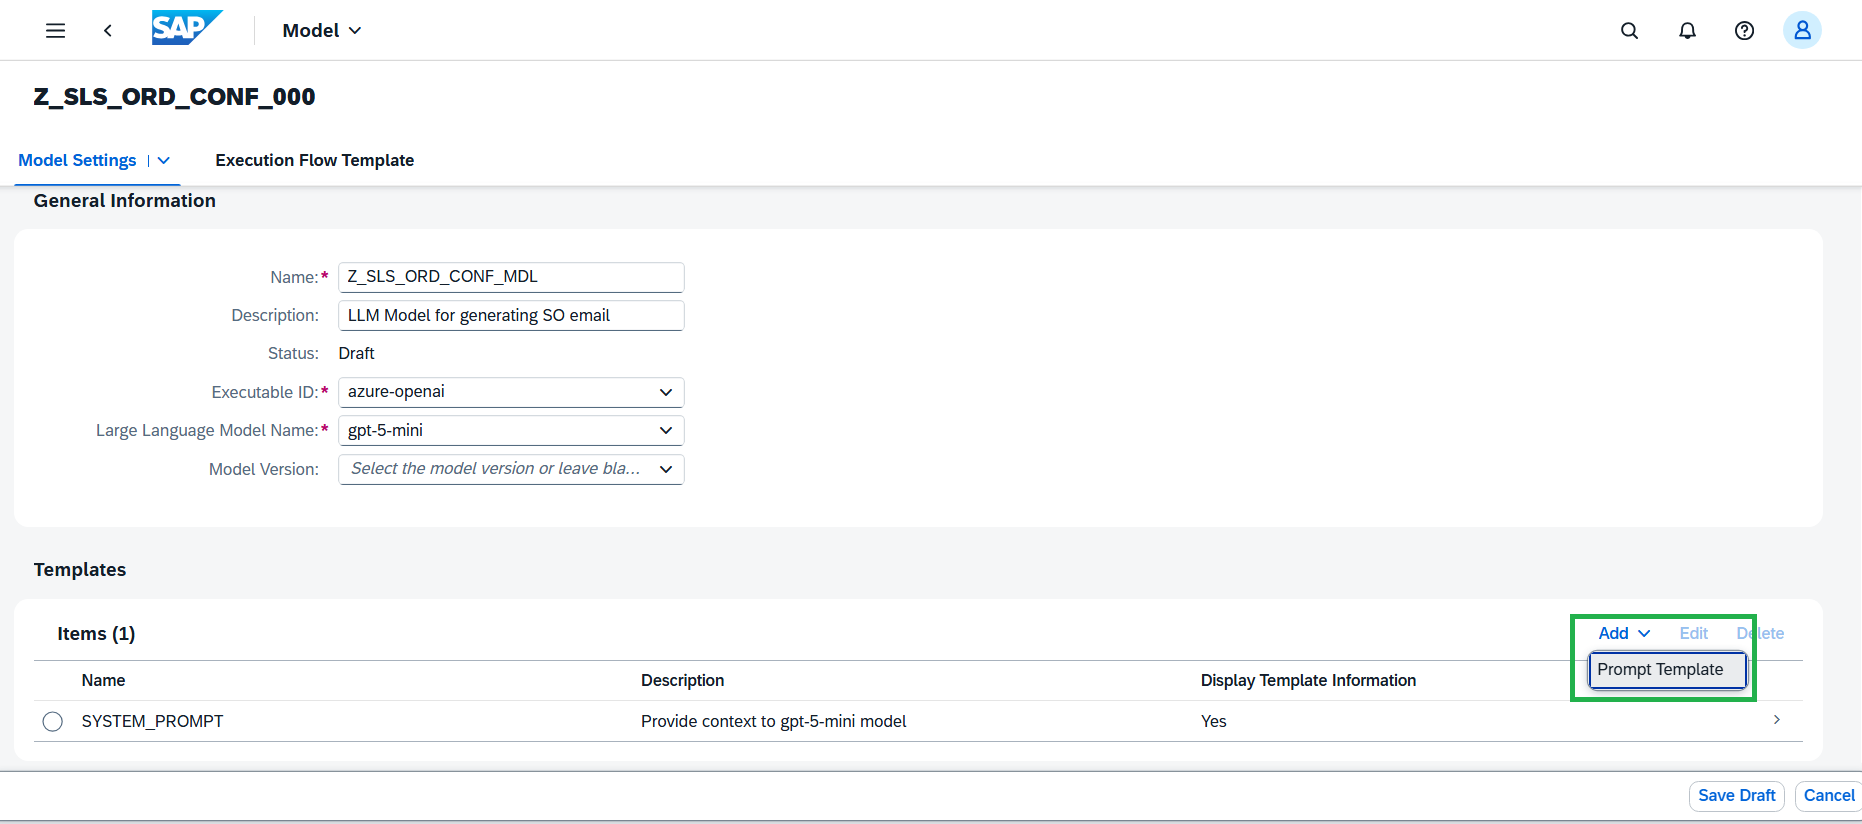
The second prompt will be an User Prompt. User prompts are dynamic instructions or queries for an AI to perform a particular task. Click the Add prompt templates button to add User prompt.
-
In the Add Prompt Template dialog, enter the below details:
- Name:
USER_PROMPT - Description:
Provide sales order item data for generating the order confirmation email - Select the Display template information as
Yes - Enter the below Prompt text:
Build a confirmation mail for a sales order containing {ISLM_Items}. The source address is {ISLM_Source} and the delivery address is {ISLM_Destination}.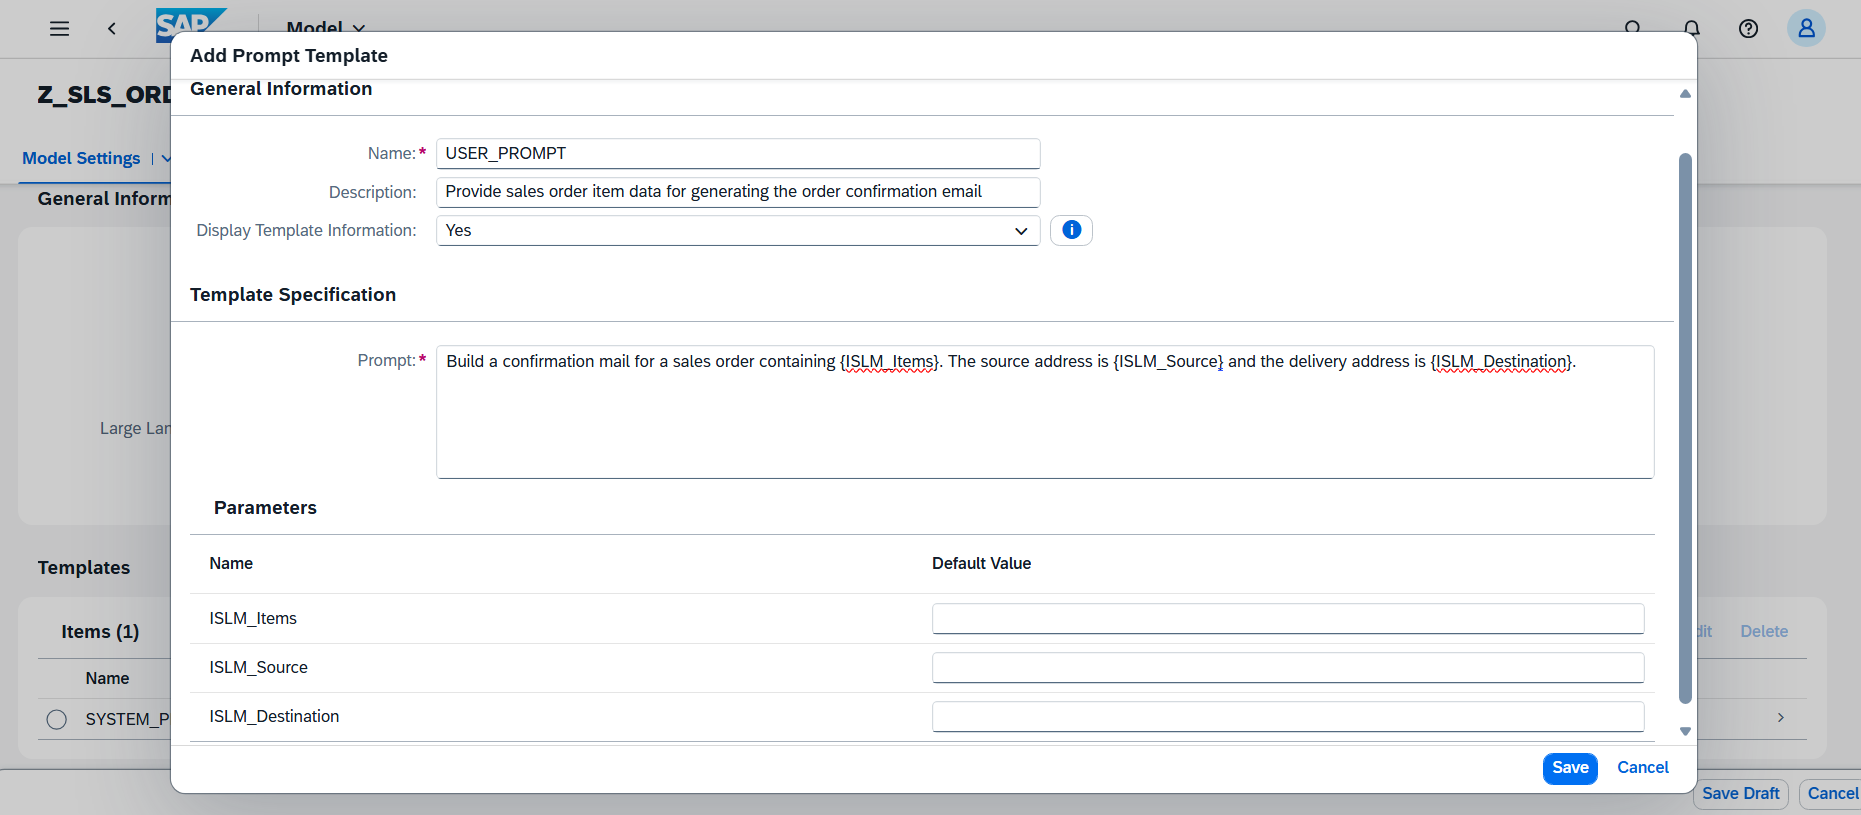
- Name:
-
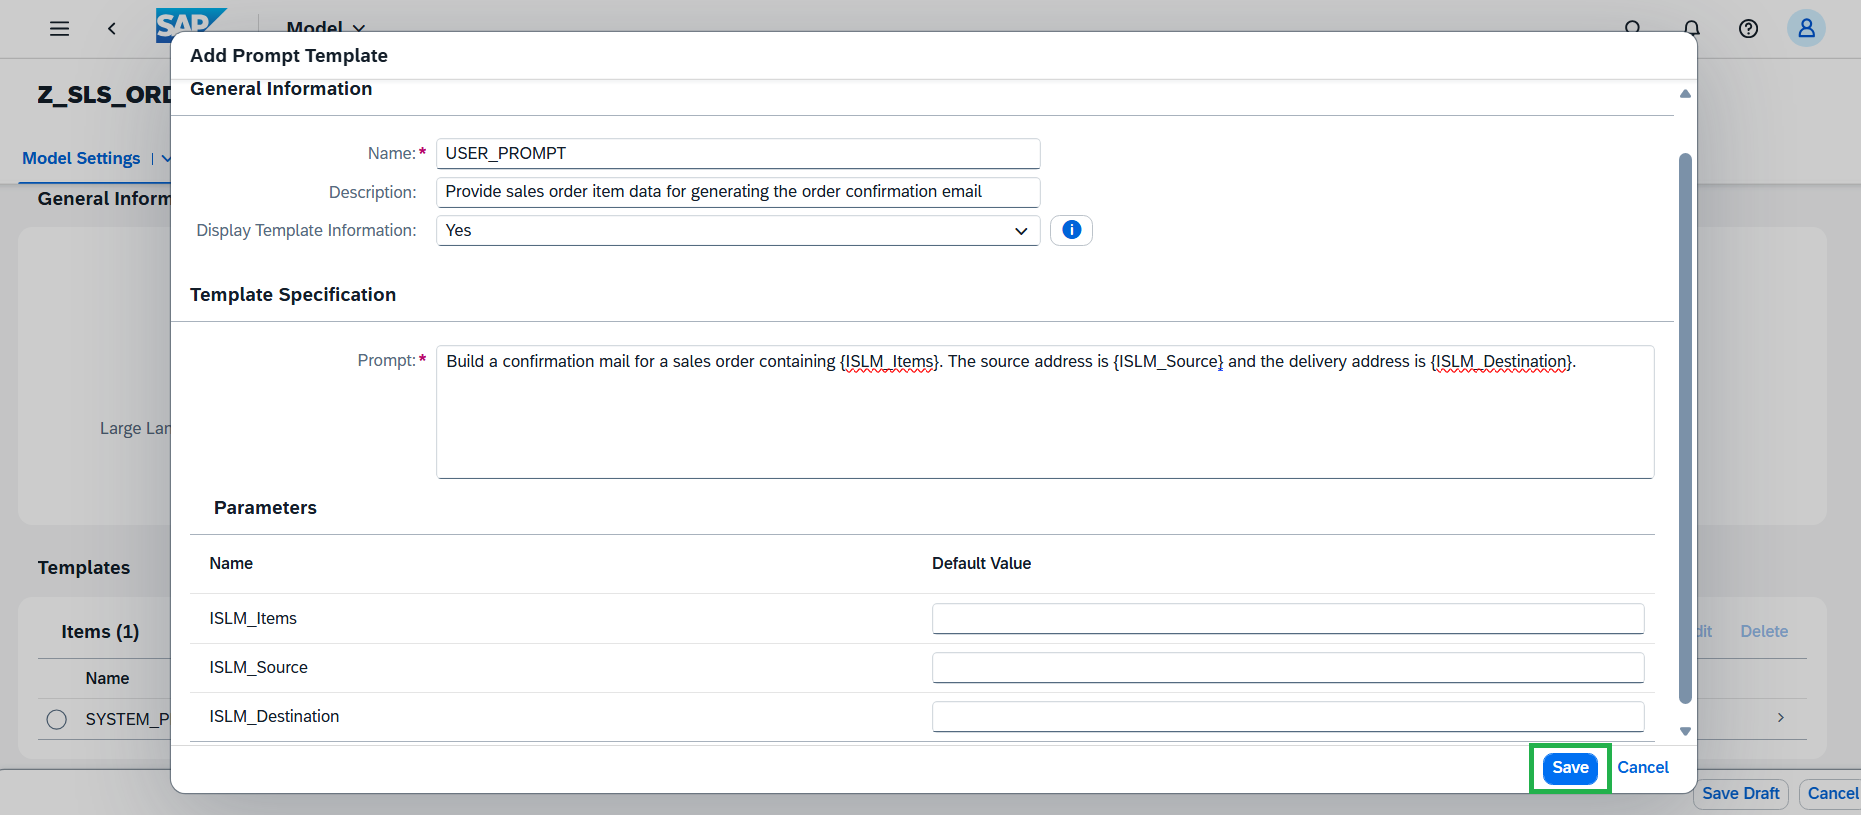
Click the Save button and click Ok.
-
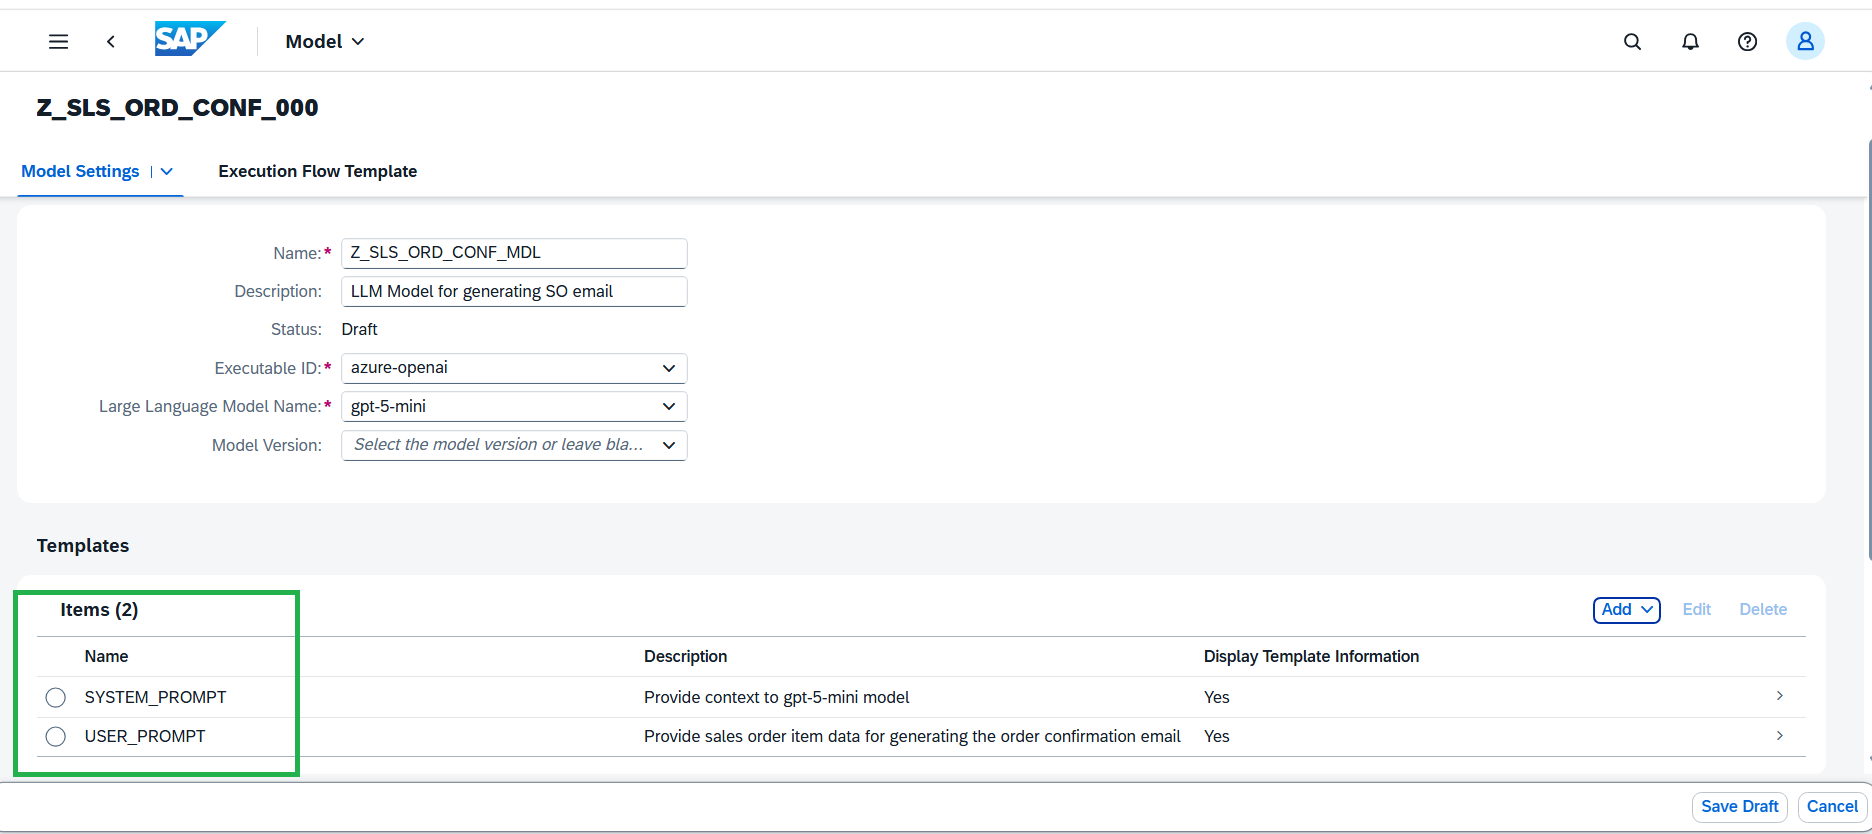
The added prompt should be visible in the Prompt Templates table.
-
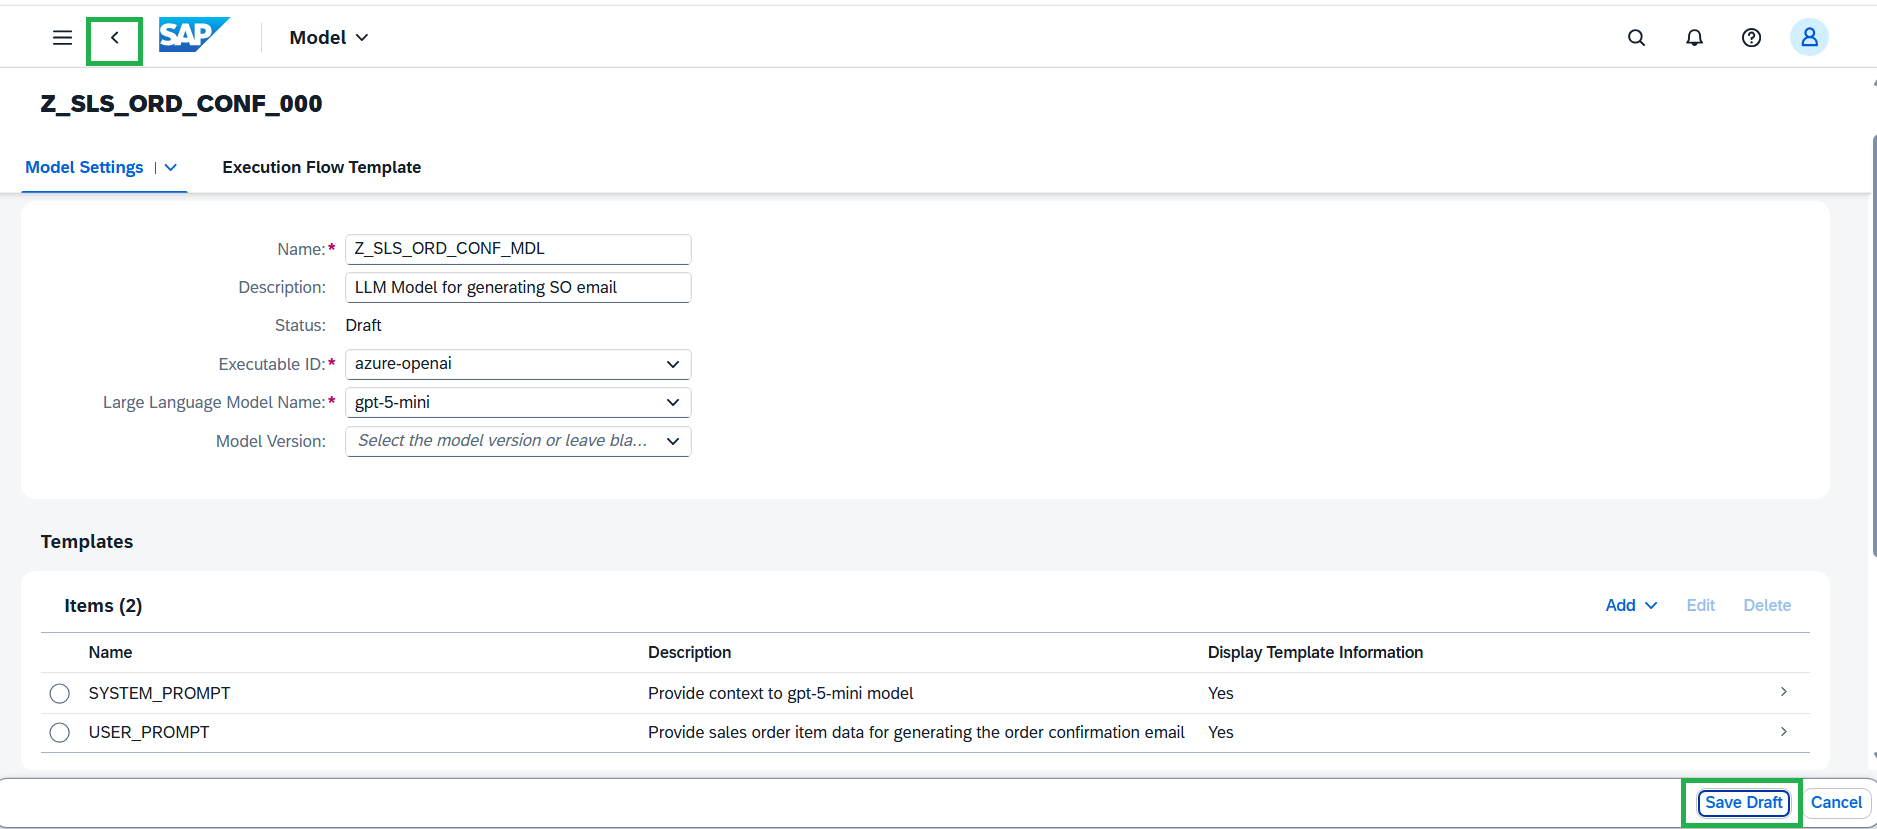
Click the Save Draft button and navigate back to Intelligent Scenario by clicking the back button.
-
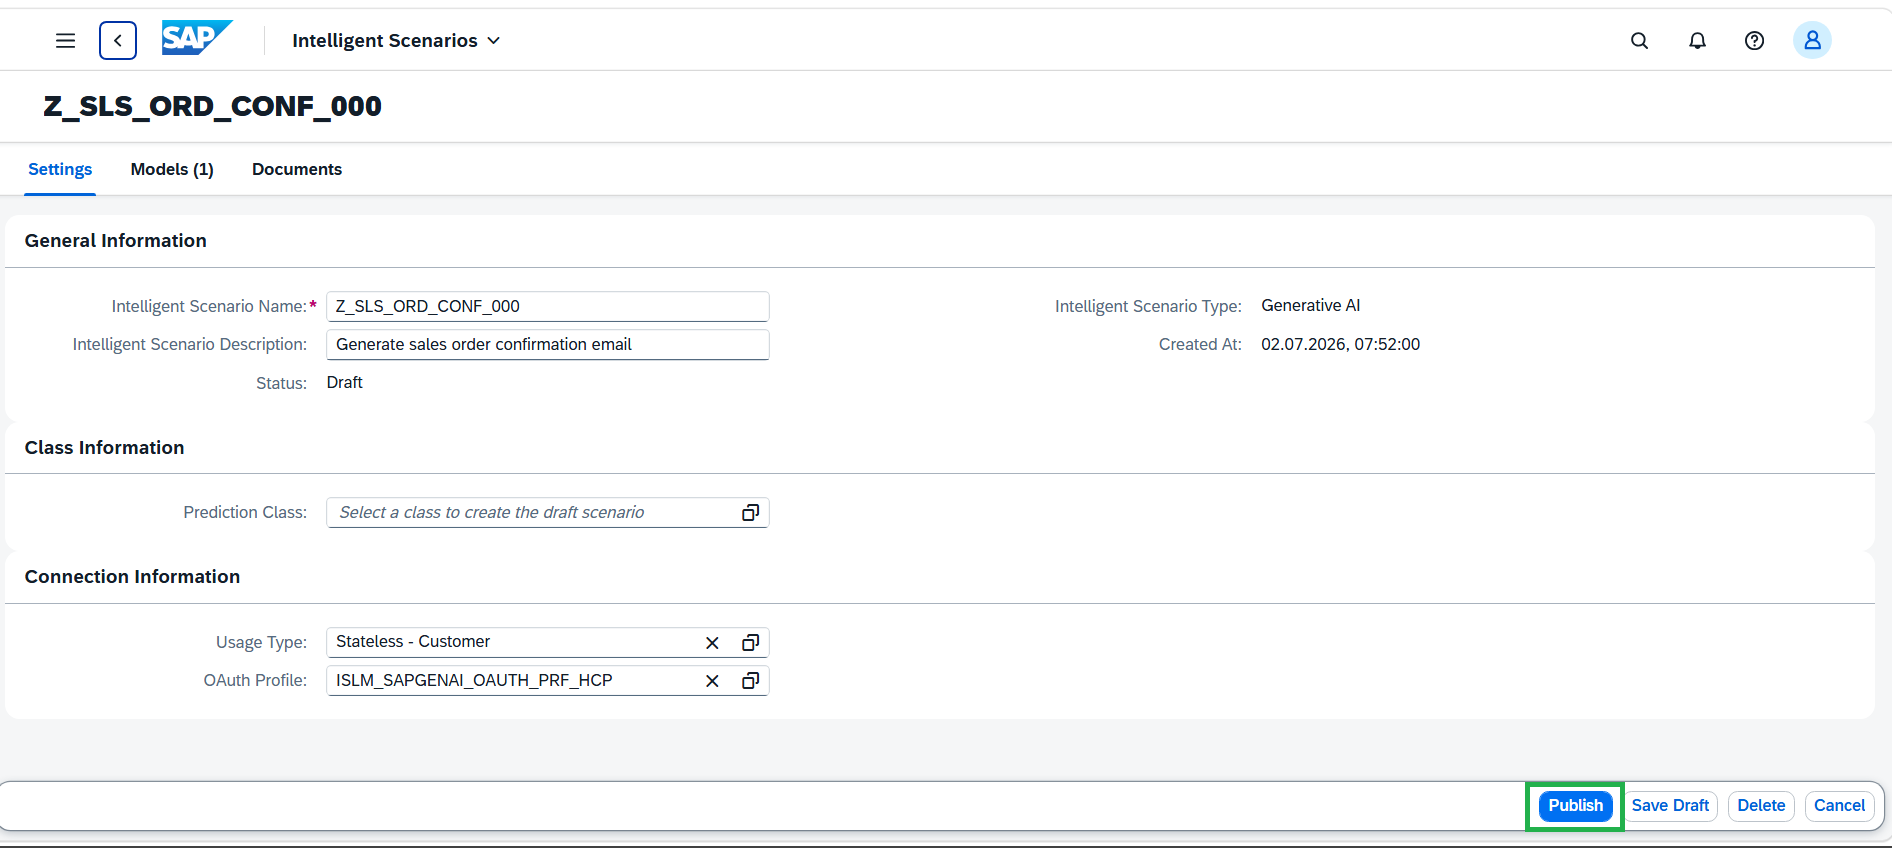
Scenario is now ready to be published. Click on Publish button. You will receive a message that Intelligent Scenario is published.
-
Search the Intelligent Scenario created by you by entering the Intelligent Scenario name and Status = Published.
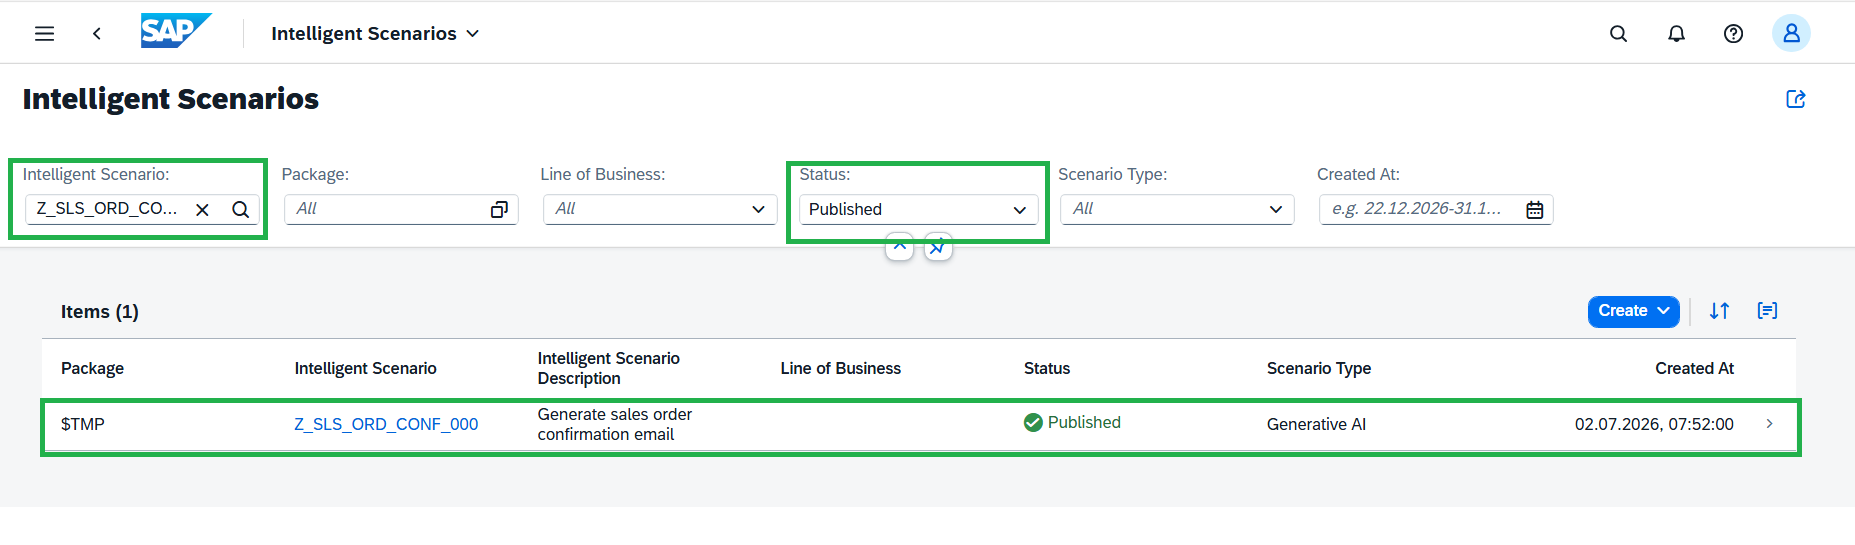
Well done, you just created your first Side-by-side Intelligent Scenario.